Showing posts with label Shape Card. Show all posts

Monday, February 25, 2013

Candace's Nerdy Birthday Blog Hop

Hi Everyone and Welcome to Candace's Nerdy Birthday Blog Hop!


Today we are Celebrating Candace's 30th Birthday!  This is a nerd and cat themed blog hop so you are in for a treat!


Now if your here from my good friend Jamie, then you are right on track.  If you just came across my blog and would like to hop along, please start over with Michelle!


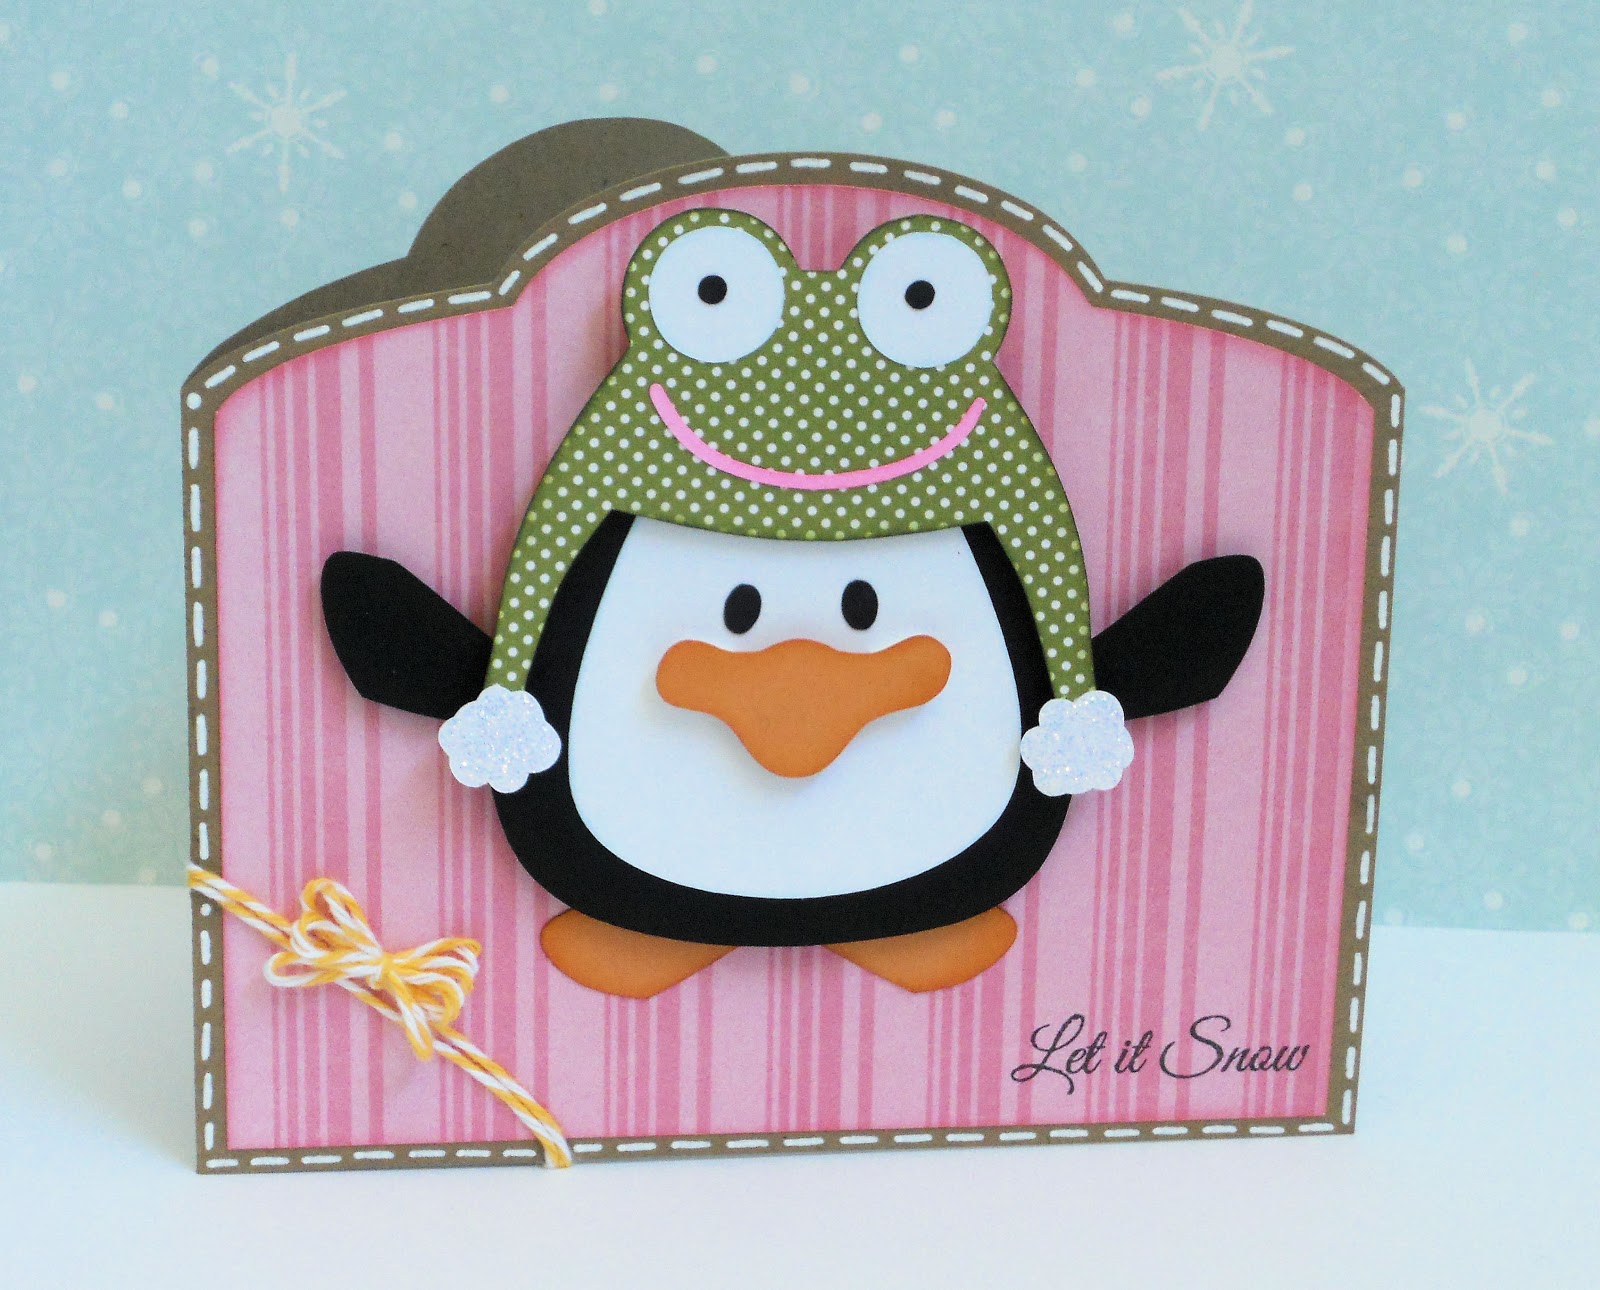
I used papers from my stash and My Mind's Eye Dolled Up.  The sentiment came from Jaded Blossom's Kitty Kitty.  From SVG Cutting Files, I used the Oval Card BaseYou are Purr-fect and for the hat I used the one from Belated Birthday Turtle.  As for the inks, I used Tim Holtz Worn Lipstick and Iced Spruce and Stampin Up Pear Pizzazz and So Saffron.


Now for some Awesome Giveaway!


Just comment on all the blogs along the hop!


The more blogs you comment on the more chances you have to win!


But first Everyone is a Winner Already!!!


Ann from SVG Cutting File will be donating a Hello Kitty SVG File Free to ALL
Candy not included, lol
All You have to do is
Be a SVG Cutting File Blog Follower
"Like" their Facebook Page
and
Email Ann for your file @ sales@svgcuttingfiles.com 
Subject "Candace's Nerdy Birthday Blog Hop" 


and add your blog follower name, please.
More Prizes:


Jaded Blossom NERD Stamp in Clear to 1 Winner
Michelle is donating (1) 6 x 6 Simple Stories Color Vibe to 1 Winner
Snap_ColorVibe 6x6 cover


Next up on the hop is the birthday girl!


Hop Line up:
and Course the Birthday Girl Candace.  Please make sure you stop by her blog and great her a HUGE  HAPPY 30TH BIRTHDAY!!!


Have Fun Hopping!

Sunday, January 27, 2013

Sweet Bear Shaped Card

Hi everyone!

I can't believe how long it's been since I've posted.  I think since Wednesday but it feels like forever.  I hope you are all having a great weekend and staying warm!  Here in Delaware it's been bitterly cold I will be happy when warmer temps start coming.

I'm here today with a post for Designs On Cloud 9.


I decided to make a shaped card using the super cute set Kiss For My Sweet!


Recipe:
Papers are from my stash, Core'dinations and Recollections Valentine's Day
Jaded Blossom Puppy Love
Queen & Co Twinkle Goosebump
Stampin Up Classic Ink in Early Espresso
Tim Holtz Distress Ink in Worn Lipstick
VersaFine in Onyx Black


Thanks so much for visiting and if you have a chance to stop by my sister blog, you really should.  A super fun hop is going on today...


To be taken to the blog hop, click here or click on the blog hop button!


Make sure to stop by Designs On Cloud 9.


Have a fabulous crafty day!

Friday, January 11, 2013

Happy Birthday Shaped Card

Hi everyone!  Happy Friday!  I hope you all have a great weekend.

My weekend will be busy as I prepare some final things before school starts on Monday.

I'm here today with a project for Designs On Cloud 9.


I decided to work with the cute set Pipqueaks.  It's a perfect birthday set!

Here is my shaped card...


Recipe:
Papers are from my stash and Core'dinations
Tim Holtz Distress Ink in Iced Spruce, Worn Lipstick and Spun Sugar
Cotton Candy Stickles
White Gel Pen
VersaFine in Onyx Black


Thanks so much for stopping by and be sure to check out Designs On Cloud 9 website, the blog and Facebook Fan Page!


Have a fabulous crafty day!


Wednesday, January 9, 2013

Kate's Surprise Birthday Blog Hop

Hi everyone!  Happy Wednesday!

Welcome to my blog and Kate's Surprise Birthday Blog Hop!


Happy birthday to my amazing friend Kate at Scrappers Creative Corner!  We've come together today with a tropical theme :)

If you are just coming from seeing the fabulous Jamie, you are right on track.  If you just came across my blog and would like to hop along, please start over with Michelle!

Here is the card I made for Kate, it went out yesterday!


Recipe:
Papers are from my stash and Core'dinations 
Tiki Time from Designs On Cloud 9
Jaded Blossom Sweet Birthday Wishes
Stampin Up Classic Ink-Early Espresso, Crumb Cake, Rose Red, So Saffron and Pear Pizzazz
The label is from the Silhouette store
VersaFine in Onyx Black


There are a few prizes being given today...


And

Grape Limeade twine from Trendy Twine


To win...
Simply leave a comment for all the stops in the hop.  Be a follower of the Jaded Blossom blog as well as a fan on Facebook and let them know you are coming from the hop.


Thanks for hopping by and be sure to stop by Kate's Blog to wish her a Happy Birthday!


Your next stop is the amazing Trixie!


Have a fabulous crafty day!


Wednesday, January 2, 2013

Jaded Blossom Sneak Day 2 - You + Me

Hi everyone!  Happy Wednesday!  

It's Day 2 of the Jaded Blossom Sneak Week!
Didn't you just love all the projects yesterday sneaking Got Candy? and Valentine Candies?!


Today we are sneaking Simple Sayings Valentine Edition!


I decided for today I would share a fun shaped card I put together :)


Recipe:
Papers are from my stash
Tim Holtz Distress Ink in Worn Lipstick
Stampin Up Classic Ink in Early Espresso
White Gel Pen
VersaFine in Onyx Black


Thanks for stopping by and be sure to stop back tomorrow for another sneak!


 Make sure you head over to Jaded Blossom to see what the rest of the fabulous Design Team came up with.


Have a fabulous crafty day!

Friday, December 14, 2012

Let It Snow

Hi everyone!  Happy Friday!  I hope you all have a great weekend!


I'm here today with a post for Designs On Cloud 9.


I'm sharing a shaped card I created using one of the new sets Cool Winter Caps.


Recipe:
Papers are from my stash, Echo Park Dots & Stripes Candy Shoppe and Simple Stores Snap Color Vibe
Jaded Blossom Winter Wishes
Lemon Tart twine from Trendy Twine
Stampin Up Classic Ink in Old Olive and Peach Parfait
Tim Holtz Distress Ink in Black Soot and Spun Sugar
Diamond Stickles
White Gel Pen
VersaFine in Onyx Black
Copic Sketch Markers Colorless Blender, C10, BG0000, RV02


Thank you so much for visiting and be sure to check out the blog hop that I'm hosting today over at my sister blog....the Gingerbread Blog Hop!


The fun starts over at The Blog Hop Princess.  Click here to check it out!


Have a fabulous crafty day!


Wednesday, November 21, 2012

Kim's Dog Themed Birthday Blog Hop


Hi everyone!

Welcome to my blog and Kim's Dog Themed Birthday Blog Hop!  This is a surprise birthday blog hop for our fabulous friend Kim at Puppies And Paper Crafts.  Happy birthday Kim!  I know your birthday is tomorrow but I hope you have a fabulous day!

Kim loves dogs so that's what we went with the theme :)

If you are just coming from seeing the talented Jamie, you are right on track.  If you just came across my blog and would like to hop along, please start over at the beginning with Candace.


Here is my card I made that I sent to Kim...


Recipe:
Papers are from my stash and DCWV Celebrations
Dog Collection from Treasure Box Designs
Jaded Blossom Miscellaneous Fun and Flag Dies
Lemon Tart, Twisted Lime and Blue Berry twine from Trendy Twine
Stickles-Waterfall
Tim Holtz Distress Ink in Tumbled Glass
White gel pen
VersaFine in Onyx Black


Be sure to visit all the hop stops!  Jaded Blossom is giving away....

Jaded Blossom Puppy Love


For those who comment on Kim's blog to wish her a Happy Birthday, you will be eligible to win the Cancer Candies 2...


Thanks so much for hopping by and be sure to wish Kim a very Happy Birthday!


Your next stop is the amazing Jenny!

Sunday, November 4, 2012

The Glamorous Side Of Scrapping 2nd Blogaversary Blog Hop

Hi everyone!  Happy Sunday!  I hope you all are having a great weekend.


Welcome to my blog and The Glamorous Side Of Scrapping 2nd Blogaversary Blog Hop!


Ashley here and if you came here first, you are in the right place!  The party starts here.


I'm so excited to be celebrating my 2nd year of blogging.  Time flies!  My blogging journey has been so much fun and I'm so happy to have you all visit post after post.


I have asked some talented ladies to join me on a two day hop showcasing cards with my favorite things.....Clean And Simple, Kraft Cardstock, Paper Piecings, Stitching and/or Shaped.  


Here is the amazing lineup...


So for my Day 1 card I decided to work with a shaped paper piecing card with kraft cardstock and stitching....


Recipe:
Papers are from my stash
Jack & Jill Scarecrows from Designs On Cloud 9
Orange Truffle and Krazy For Kraft twine from Trendy Twine
White gel pen


So of course I have some blog candy....


Two amazing sponsors.....


The Cutting Cafe - 3 files of your choice

The Cutting Cafe

*Become a fan on Facebook and let them know you are coming from the hop.


Designs On Cloud 9 - $20 gift certificate

Photobucket

*Become a fan on FB and let them know you are coming from the hop -https://www.facebook.com/DesignsonCloud9


In addition to the requirements listed for each sponsor you must....
1.  Comment on each blog hop stop
2.  Leave a way for me to reach you


I will announce the winners on Friday, November 30th.


I hope you enjoy the hop and please stop back tomorrow for Day 2.


I will now send you off to Jamie's Blog!


Have a fabulous crafty day!


Wednesday, October 31, 2012

Inspiration Day at The Cutting Cafe

Hi everyone!

I'm here today for Inspiration Day over at The Cutting Cafe.  Regina asked us to work with 

HALLOWEEN BINGO CARD SET.....PRINTABLE STAMP SET

 WITCH BOOT SHAPED CARD...TEMPLATE - CUTTING FILE

 SPOOKY SQUARE SENTIMENTS.........PRINTABLE STAMPS

HALLOWEEN TIME or HALLOWEEN WORDS PHOTO AND JOURNALING FRAMES...TEMPLATES - CUTTING FILES.


I decided to create the Witch Boot Shaped Card...

Recipe:
Papers are from my stash and K & Company Ghostly Greetings
Jaded Blossom Best Witches
Tim Holtz Distress Ink in Black Soot


Thanks so much for visiting and be sure to check outThe Cutting Cafe and The Cutting Cafe's Blog for all of todays inspiration!


Have a fabulous crafty day!

Saturday, September 29, 2012

Happy Fall Y'All Shape Card

Hi everyone!

Happy Saturday.  I hope you all have a great weekend.  Today is relaxing and crafting and tomorrow is a family spaghetti dinner for my mommom's birthday!  Oh and of course watching football tomorrow!

I get so many comments and questions about the shape cards I put together that I thought I would trying my hand a mini tutorial.

Bear in mind this is the first time I am trying this so it may be a little squiffy.  WARNING....this post is very picture heavy.  If you just want to see the card please scroll pretty much to the bottom of this post.

So Kadoodle Bug Designs brought out this adorable freebie and I knew that I had to work with it and thought this would be a good first time tutorial.  The freebie shown below is still available in the store so be sure to check it out....


I'm going to be working in the Silhouette software.  I made this card a little taller than normal but once I factored in the stem,  I wasn't too concerned.

I opened the file and it opened with the cuts all separated...


From there I put the pieces together on how I wanted it look...


Next I resized it to how big I wanted the card...


I selected the whole thing (#1) and then selected the offset feature (#2)...


The offset shape will look like this...


What I do next is cut the offset shape, create a new drawing and paste.  From there I copy and paste to create the second base shape.  Select the shape (#1).  Right click and select Flip Horizontally (#2).  From there the shape will flip and that will eventually be the back of the card...


Put the shapes together so that they join where you want the fold of the card.  From here you will select both pieces (#1) and then select Weld (#2)...


The base of the card has been created :)


After that you will want to separate and cut all the pieces out.  Now for me the tricky part....getting the pieces in the right place on the card.  I hate this part especially working with letters.  Always put the card together before gluing everything down....


Once you are happy with the placement of the pieces.  Get your inking and gluing on :)


The end result.....


As for the rest of the card.  Papers came from my stash.  I used Stampin Up Write Markers in So Saffron and Old Olive and Tim Holtz Distress Ink in Spiced Marmalade.

I decided after doing all the screen shots that I would add a blackout cut behind the pumpkin.  I will show that in the next tutorial.


So how did I do?!  Hopefully I wasn't too confusing.  Would you like to see more, please let me know.  If get enough people to like this post then I will continue on doing tutorials when I can.


Thanks so much for visiting.  


Have a fabulous crafty day!